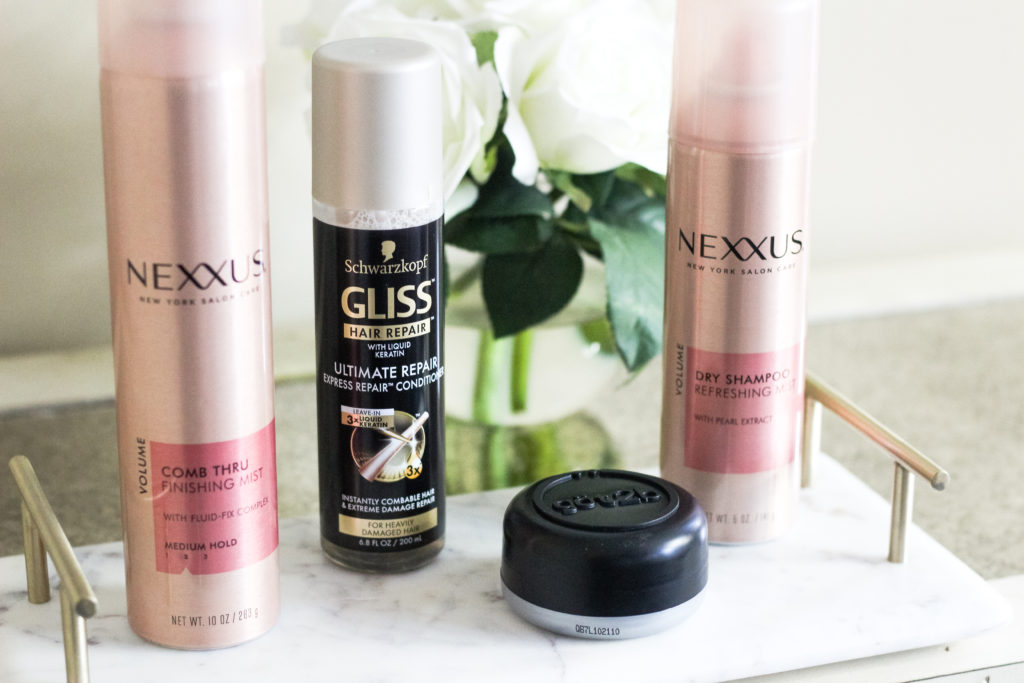
The holidays are officially here! It’s time to start putting together some festive holiday looks for all of your winter parties and events. My daily go-to hair style is beachy waves, but I love the elegant look of polished curls for holiday events. Today I’m sharing a simple but glam holiday hair tutorial that is so simple to recreate with only a few products!
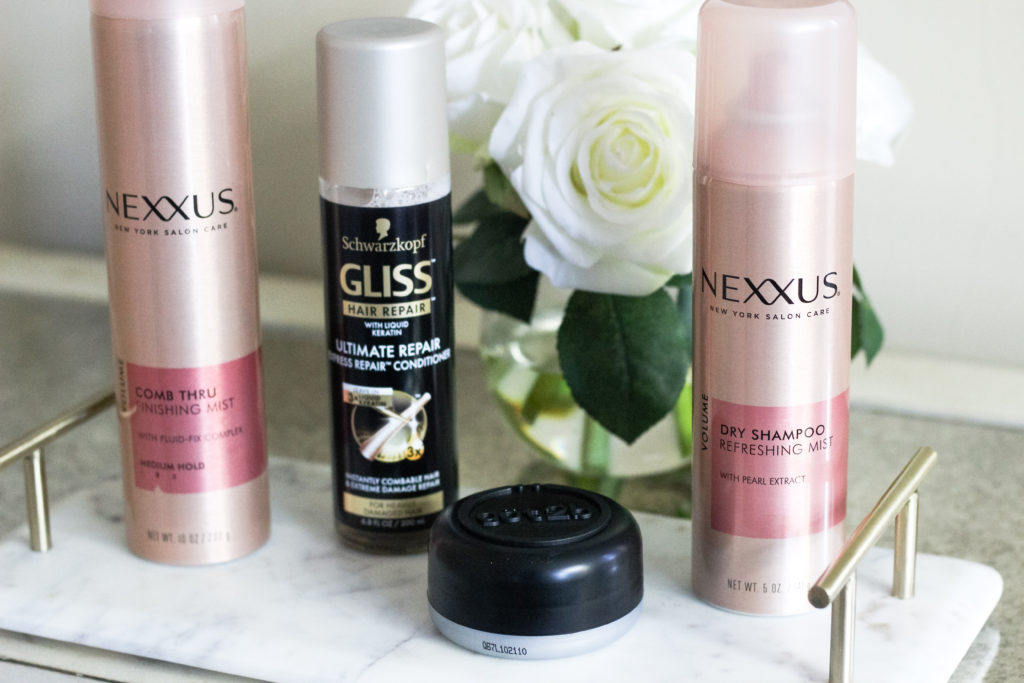
After I wash my hair, I spray on GLISS hair repair while it’s still damp to help keep my hair healthy. GLISS replaces lost Keratin to repair damaged hair and makes it super soft. If I have time, I usually let my hair air dry after this step instead of blow drying to reduce the amount of heat exposure.
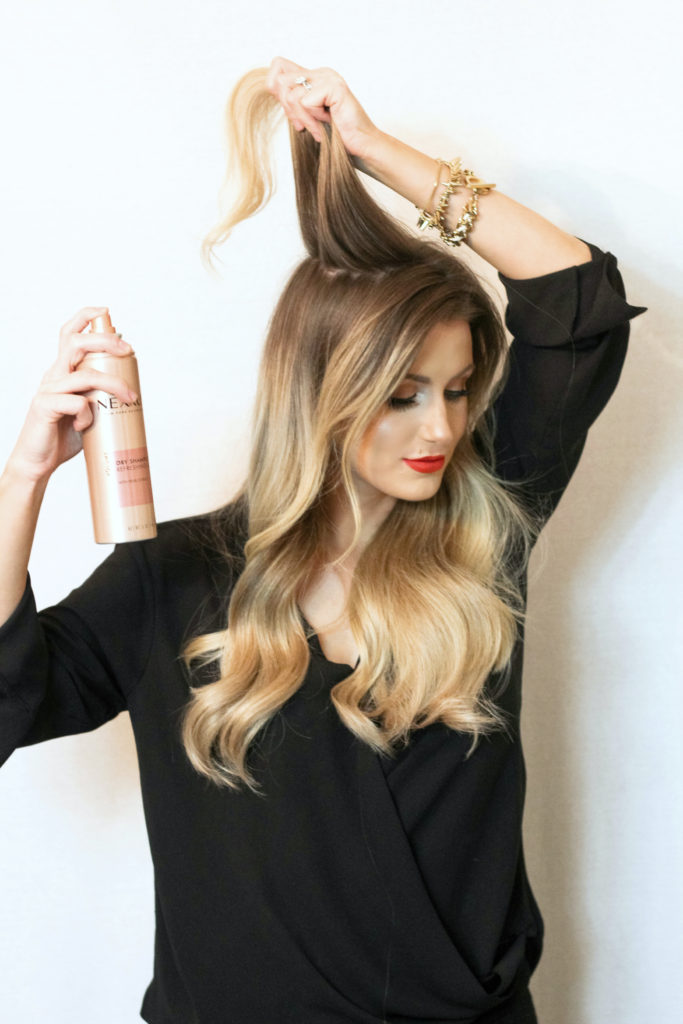
Before I start styling, I always begin with dry shampoo. Even if my hair is freshly washed, I never skip this step! I’ve found that dry shampoo adds more texture to my hair which makes it hold a curl longer and adds more volume. I spray Nexxus dry shampoo all over my scalp and rub it in with my fingertips. I love the Nexxus formula because it makes your hair feel light and clean without feeling like you have a ton of product on your head and it smells AHmazing. I wear clip-in extensions that I will share more about on a later post. I clip in 5 wefts (3 small ones closer to my neck and 2 larger ones from ear to ear) before I start to curl.
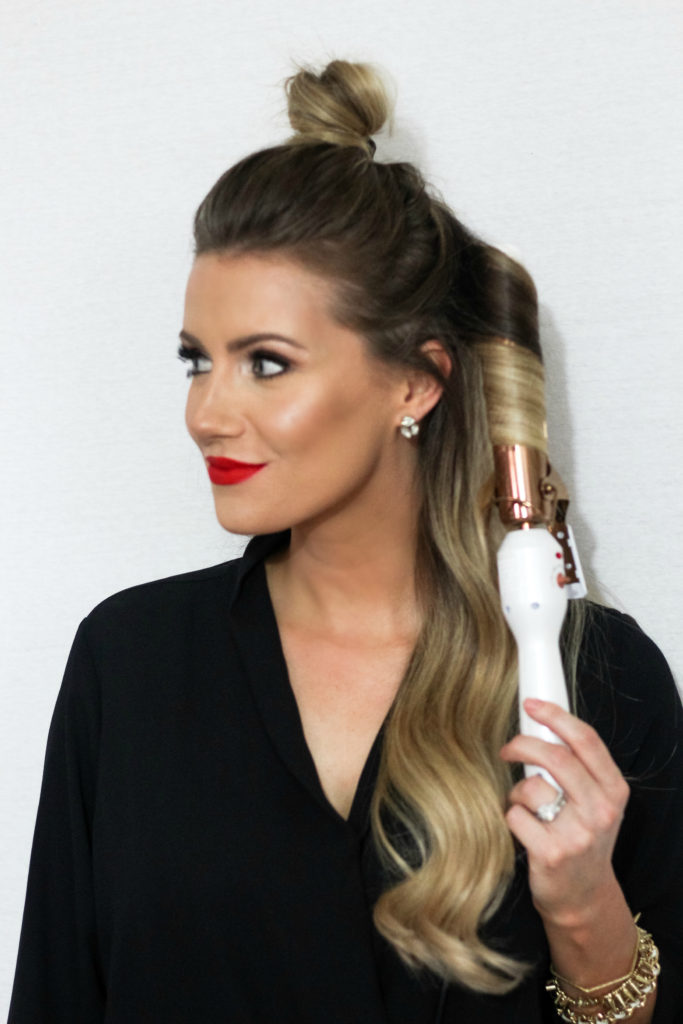
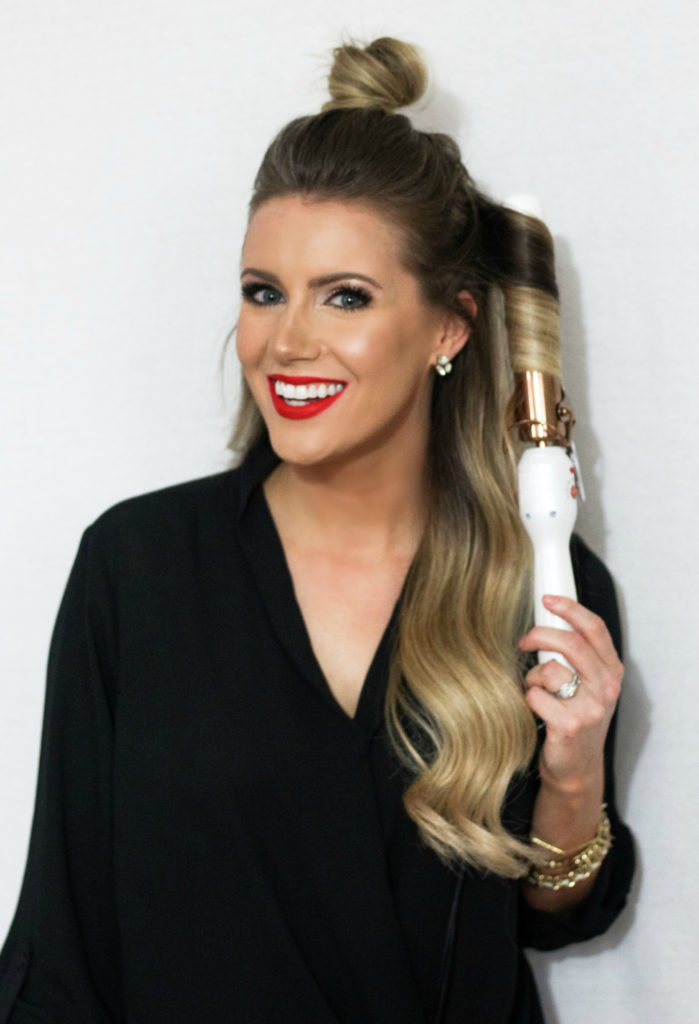
I then curl all of my hair with a 1.25″ curling iron. I split my hair into two sections by pulling the top half up with a clip on top of my head. I start curling the bottom section first, about an inch at a time, always curling away from my face. Curling each strand in the same direction, away from your face is the most important step to achieve smooth, bouncy curls. Rotating directions would leave you with more of a tousled, beachy look. After the bottom section is complete, I set my curls with Nexxus comb thru finishing mist. I LOVE this formula because it holds the curls without making them stiff and “crunchy.” You can still brush and run your fingers through your hair after you spray, but your curls don’t move! It defies all logic, but I’m not complaining. I then repeat the above steps on the top section of hair. Once all the hair is curled and sprayed, brush through it all to break up the ringlets so the curls kind of flow together.
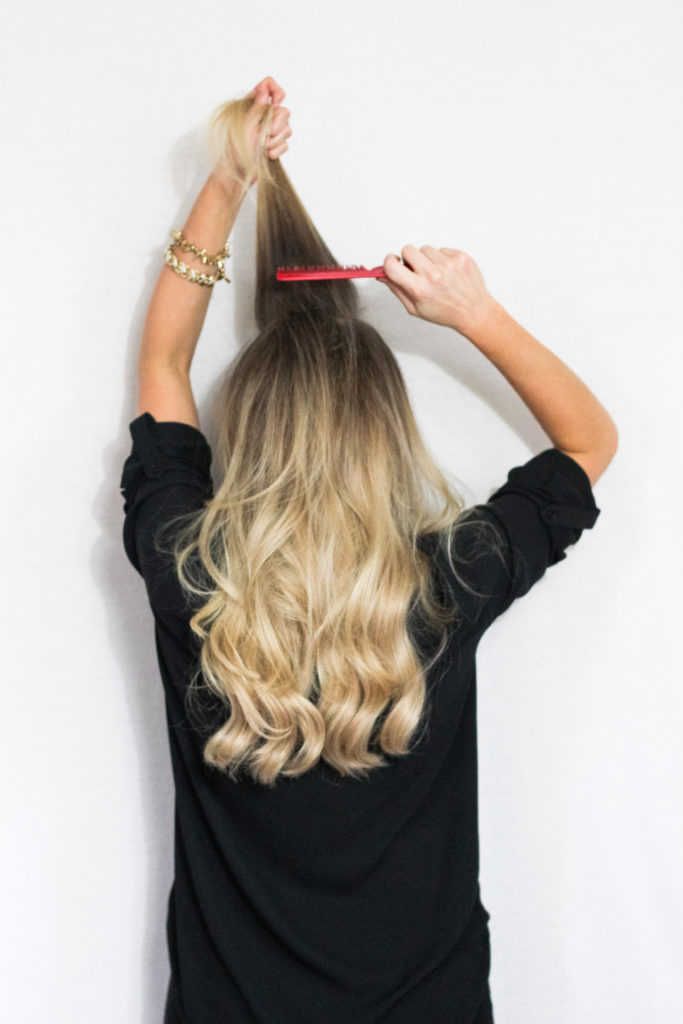
Being a true southern gal, it wouldn’t be a hair tutorial without some good old fashioned teasing! After I curl, I tease the top section of my hair in the back and on each side. I use a small comb to section it and back-comb each part 2-3 times before setting with the finishing mist. You can skip this step if you prefer, but I think a little volume on top is needed to balance out the large curls we created throughout the rest of the hair.
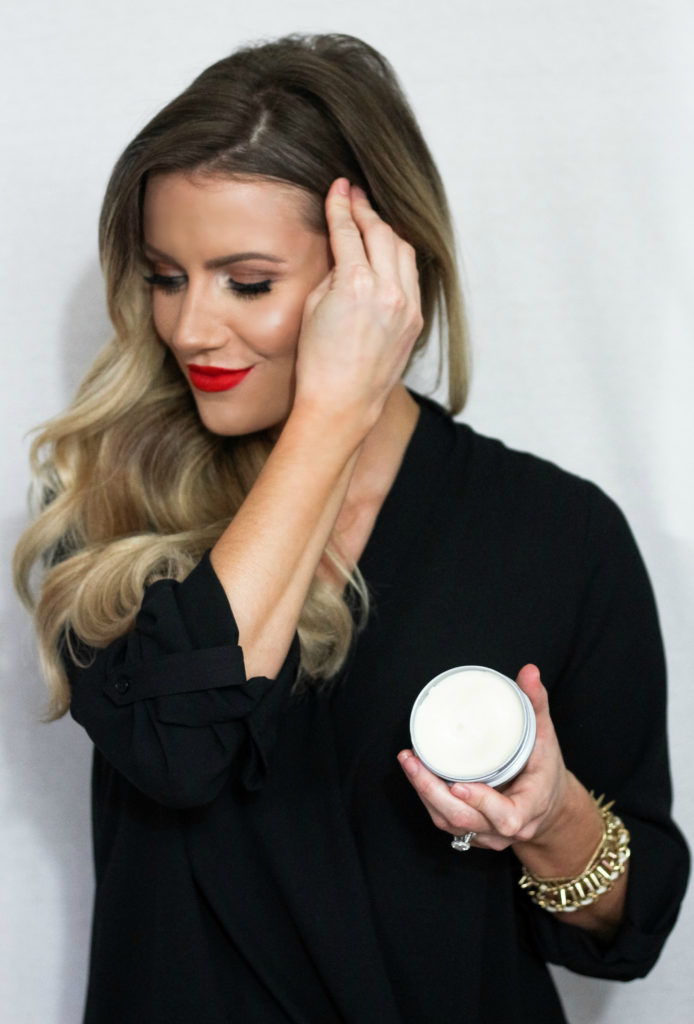
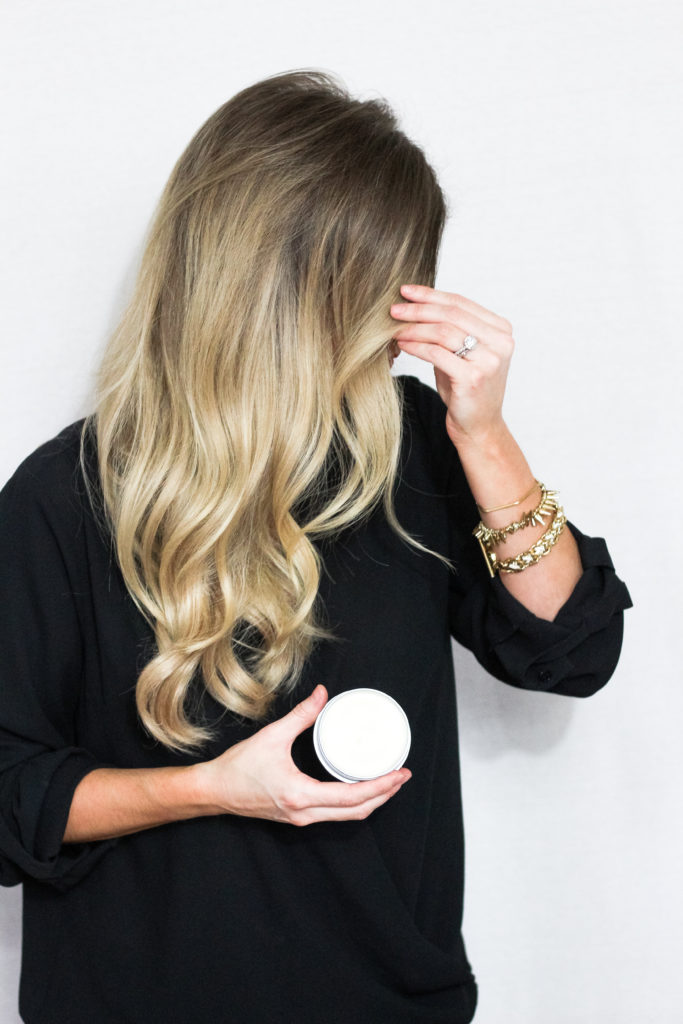
I’m constantly playing with my hair during the day (bad habit..trying to kick it) so I don’t usually pay too much attention to the way it’s parted when I walk out the door. However, for this particular look I wanted it to be very polished and sleek on top. I parted my hair to the side and used got2b sculpting paste to smooth down the left side of my hair and keep it tucked behind my ear. Fun fact: I’ve actually been using sculpting paste for years to smooth flyways around my face. I got the idea when I saw my husband using some, I grabbed his out of the cabinet and dabbed it on my baby hairs to help them lay flat and blend in with the rest of my hair. It’s the only thing I’ve found that actually helps blend any baby hairs or breakage, it’s an absolute game changer! A word of caution to this tale…you need only a TINY amount for this to work, just a light tap with your finger is all you need to apply. Don’t get crazy, or you’ll just look like you need to rinse, lather, repeat vs. being holiday party ready. Bonus – because you only use the teeniest dab each time, one jar will literally last you over a year..maybe two. You’re welcome.
After you curl, tease, and smooth any flyaways, finish the look by lightly spraying the curls again with the Nexxus finishing mist. This will ensure your locks stay in place and will help combat static from the cold winter air.
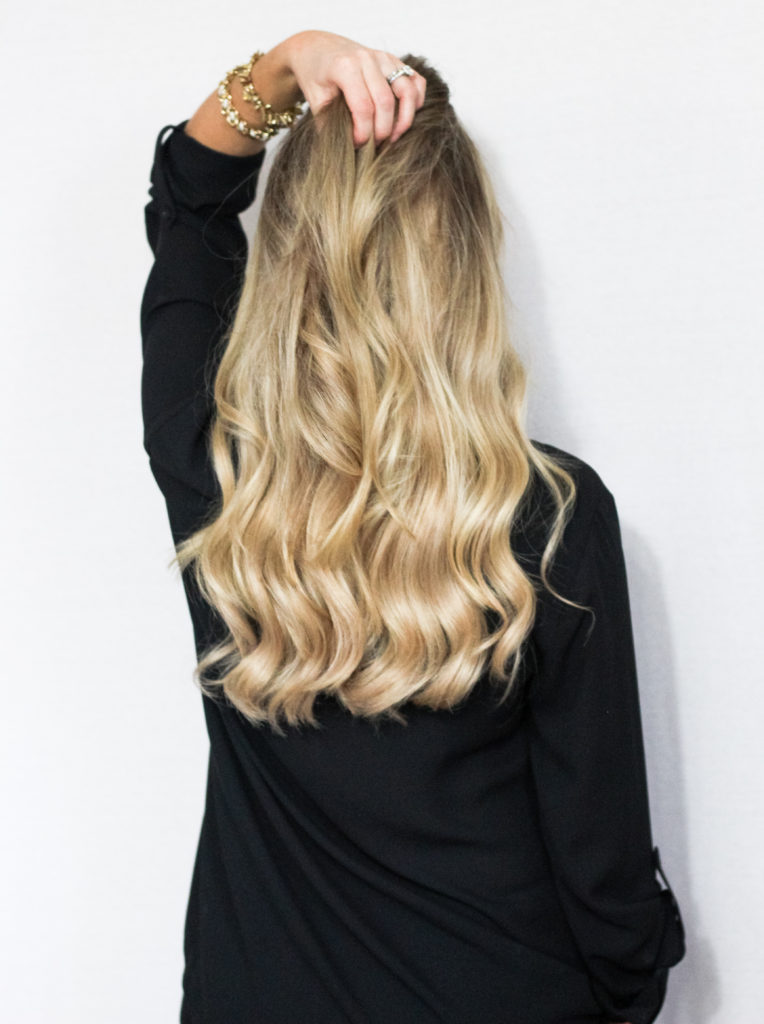
After you curl, tease, and smooth any flyaways, finish the look by lightly spraying the curls again with the Nexxus finishing mist. This will ensure your locks stay in place and will help combat static from the cold winter air.
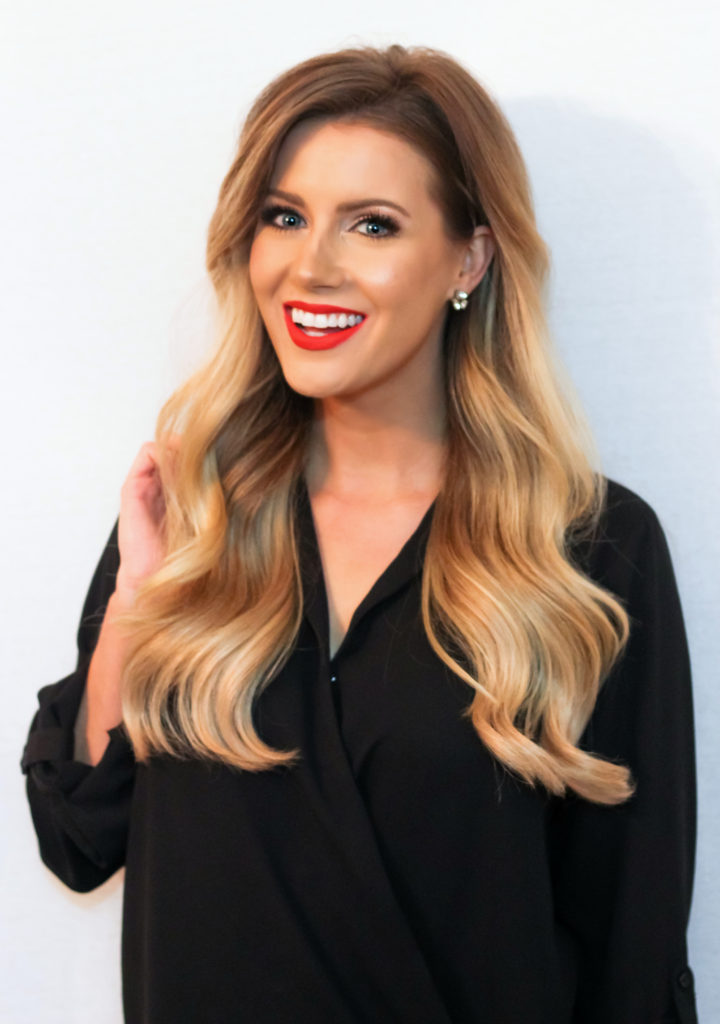
Your glam winter curls are now complete! Just add some red lipstick and sparkly earrings to be holiday party ready! I love that this style looks put-together and polished but it doesn’t take hours to construct. Bonus- I found all of these beauty products at Kroger so they’re easy to find and super affordable! Kroger has a wide variety of cosmetics, hair & skincare products available for a great value. Click HERE to download over $20 in digital coupons of Kroger Beauty items including $3.oo off a Nexxus product and $2.00 off the got2b paste or the GLISS spray that I used! They also have coupons for some items I always have on hand like Burt’s Bees facial cleansing wipes and Jergens® moisturizer! (Sale ends 12/30/17)
I hope you enjoyed this tutorial, let me know in the comments below if you try it out!
XoXo
-Lo
Thank you to Kroger for sponsoring this post, all opinions are my own.


1 Comment
Taylor
January 2, 2018 at 8:21 pmHi Loren!
I absolutely love this post! Beautiful pictures and great tips. I have been exploring so many of your beauty and fashion posts. I am a Georgia blogger as well and I would love for you to check out my blog at taylorchadwick.com and give me some feedback, or get in touch through Instagram! @taylorchadwickhunt
xo, Taylor Chadwick